Are you experiencing difficulties with getting your WordPress website crawled or indexed in search results? If you’ve recently manually installed the WordPress setup on your online hosting service, and when you attempt to request indexing through Google Search Console, are you encountering various error messages related to “noindex” or “nofollow” meta tags?
We will guide you through the process of eliminating the “noindex nofollow” meta tag from your WordPress website. This can be achieved by making specific code adjustments within the admin panel, without the need for a plugin. If you possess the technical proficiency to manipulate codes or scripts, the procedure becomes quite straightforward. However, if coding is not your forte, worry not. In this blog post, I have simplified the steps significantly, and you can effortlessly follow the instructions provided below. Accompanying reference images have also been included to assist you in effectively resolving this issue.
Step 1 – Accessing Your cPanel
To initiate the process, you’ll need to log in to your cPanel account. If you’d rather opt for a web-based solution to manage your files, cPanel offers a built-in File Manager.
To reach the File Manager, start by logging in to your hosting cPanel. Simply click the “cPanel Login” button, and you’ll be directed to your cPanel dashboard.

We will guide you through the process of removing the “meta name=’robots’ content=’noindex nofollow'” tag in WordPress by replacing a certain piece of code within the admin panel. Here’s the first step: Log in to your cPanel.
Step 2 – Navigating the cPanel File Manager
Upon accessing the File Manager, you’ll find yourself in the primary directory of your account. Typically, your focus will be on website files, which are situated within the “public_html” directory in most cases.
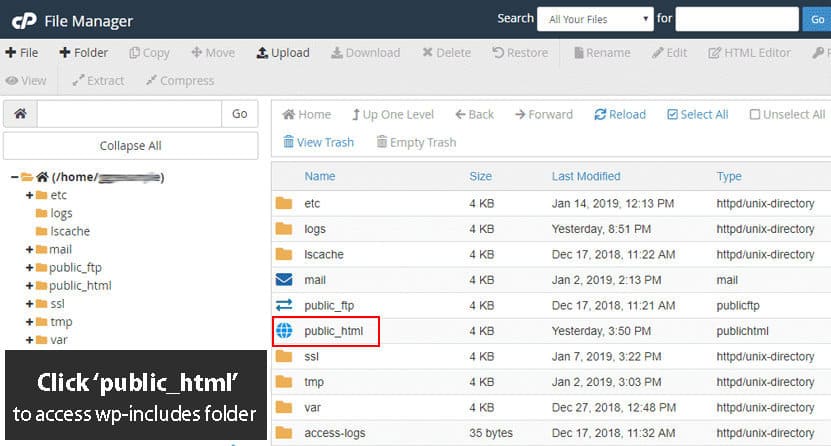
Step 3 – Locating the wp-includes File
Once you’ve accessed the public_html directory, your next step is to locate the folder named “wp-includes.” Simply double-click on this folder. Amidst the multitude of folders and files, don’t fret. Take a moment to steady yourself, then effortlessly employ the keyboard shortcut Ctrl+f. Type in “general-template.php.”
Voila, you’ll now spot the file named “general-template.php.” Proceed to download this file to your system. For further clarity, refer to the image provided below.
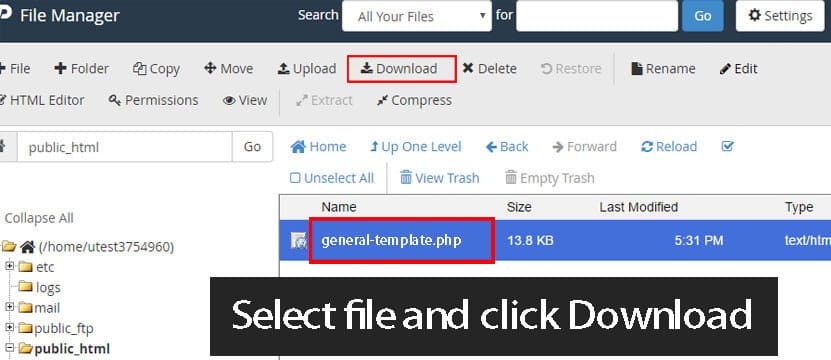
Step 4 – Modifying the general-template.php File
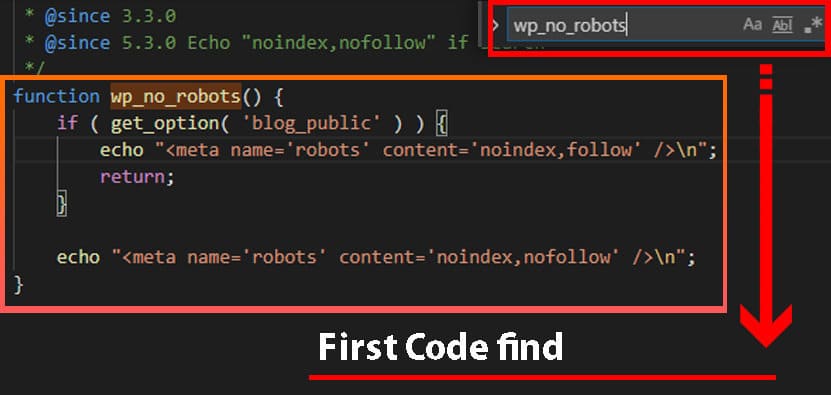
Within this file, you’ll encounter two distinct functions. To pinpoint these functions, open the file using a text editor on your desktop computer. Once the file is open, utilize the Ctrl+f shortcut to facilitate your search. Look for the line mentioned below:
1 – Find this first code and replace with just bellow this:
function wp_no_robots() {
	if ( get_option( 'blog_public' ) ) {
		echo "<meta name='robots' content='noindex,follow' />\n";
		return;
	}

	echo "<meta name='robots' content='noindex,nofollow' />\n";
}
1.1 – Replace first with this code:
function wp_no_robots() {
	if ( get_option( 'blog_public' ) ) {
		echo "<meta name='robots' content='index,follow' />\n";
		return;
	}
	echo "<meta name='robots' content='index,follow' />\n";
}
2 – Find this second code:
function wp_sensitive_page_meta() {
	?>
	<meta name='robots' content='noindex,noarchive' />
	<meta name='referrer' content='strict-origin-when-cross-origin' />
	<?php
}
2.2 – Replace Second with this code:
function wp_sensitive_page_meta() {
	?>
	<meta name='robots' content='index,archive' />
	<meta name='referrer' content='strict-origin-when-cross-origin' />
	<?php
}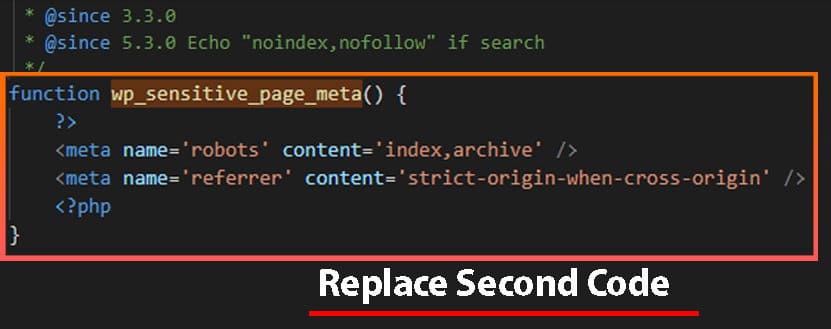
Now, substitute this code with our provided reference code. This adjustment will enhance your website’s SEO, aligning with Google’s recommendations for improved focus and webpage indexing.
Step 5 – Uploading the Modified general-template.php File via File Manager
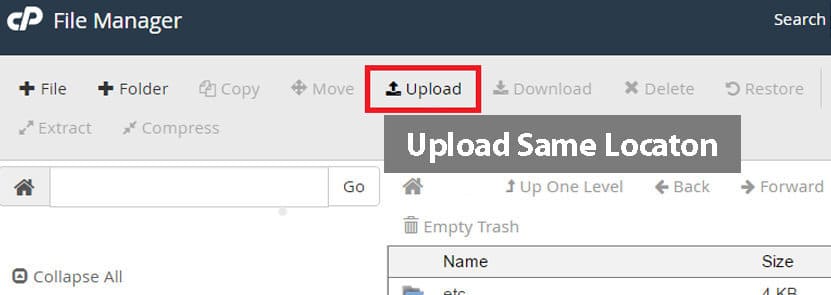
Navigate to the top toolbar and select the “Upload” option. This action will open a new tab, prompting you to click the “Select” button. This button allows you to locate the modified file on your local computer. Once you’ve successfully located the desired file, proceed by clicking the “Open” button to initiate the upload process.
Once this process is successfully completed, return to your website for a comprehensive check. Access the Search Console and proceed to resubmit the URL you previously attempted. If you’ve diligently replaced all codes as instructed, you should notice a remarkable shift. The URL submission will now resonate with a distinctly different tune. Upon submitting the URL, the inspection report should be devoid of any warnings or error messages, particularly those related to indexing and crawlability. This newfound status will empower you to confidently “Request Indexing.”
I trust this guidance proves valuable. Google strongly emphasizes the importance of directing your focus towards optimizing web page indexing for the Googlebot search engine crawler. This necessitates the presence of an intuitive navigation system and lucid URLs on your website.
Please be mindful: Whenever you undertake a WordPress Dashboard upgrade or update, remember that this code can be replaced with the “noindex, nofollow” variant (as provided by wordpress.org for dashboard codes). Simply follow the same procedure to effectuate the code replacement.
